Soldering the chassis
Before continuing, make sure that power switch on the main board is in OFF position.
Using the soldering iron, solder the motor leads protruding through the main board to the board. Be careful with nearby connectors - try to avoid touching them with your iron. Use flush cutters to trim remaining length of motor leads.

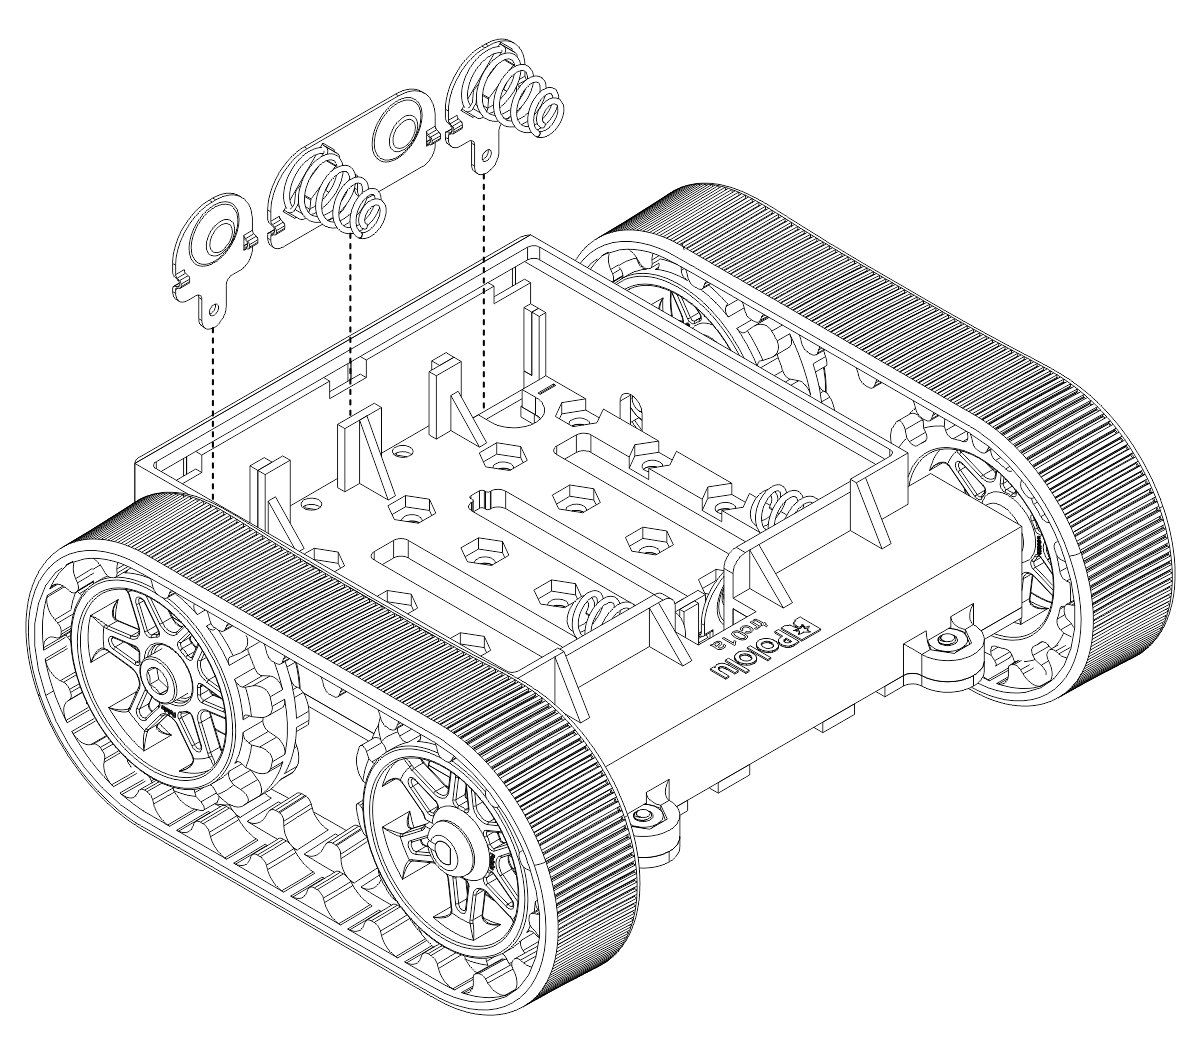
Now, turn the chassis over and insert the two individual battery contacts as shown in ` this drawing <https://a.pololu-files.com/picture/0J9740.1200.png>`__ by Pololu. The solder tabs of the two individual contacts should go through the holes in battery compartment and into the slots in the spacer board and the main board.
Insert 4 AA batteries (making sure they are in correct polarity) to hold the battery terminals in place until you solder them and close the battery compartment cover. Turn the chassis over again and inspect the battery terminals; the top of solder tab should be level with the top of the main board. If necessary, adjust the battery terminals.
Solder the tabs of the battery contacts to the main board. The easiest way to do that is by using a larger iron tip, heating the plating of the slot in the main board, and then filling it with solder.

Once the solder cools, turn the switch on. The LEDs on the robot should light up, indicating that the robot is powered.
Turn the robot off again.